Follow the steps below to set up one-page checkout within your store to optimize your conversions.
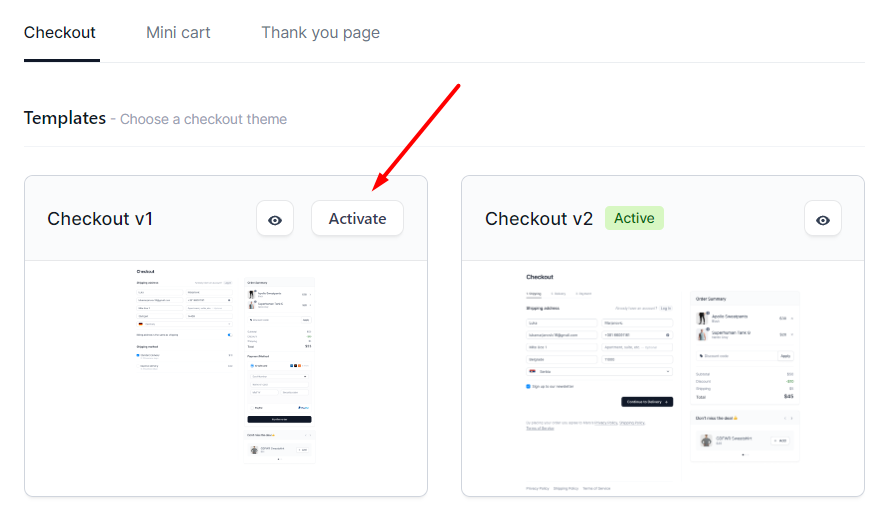
Within the iCheckout, you can set one of the various customizable templates to be your checkout page.
If you want to use one-page checkout, just choose the template that fits you best, and hit “Activate.”
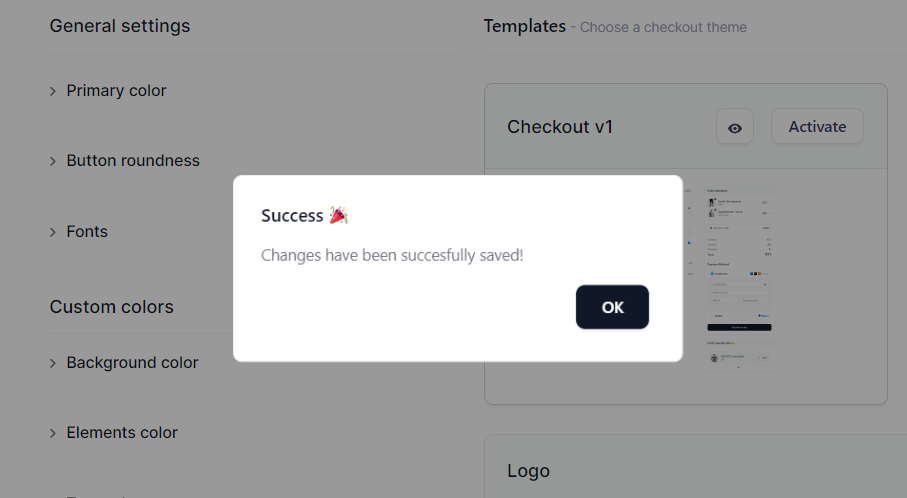
The following message will pop up.
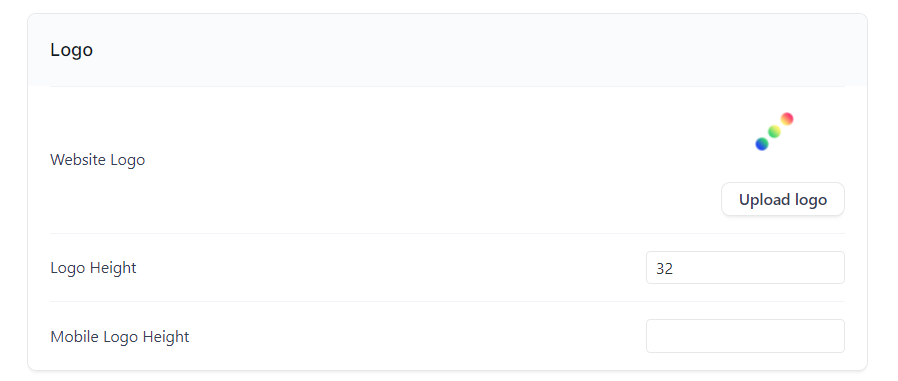
Then, make sure to upload your business logo before publishing the changes.
To do that, click “Upload logo” and choose the logo you want to be on your checkout page.
You can also customize the logo height if needed(we suggest keeping it at default – 32px).
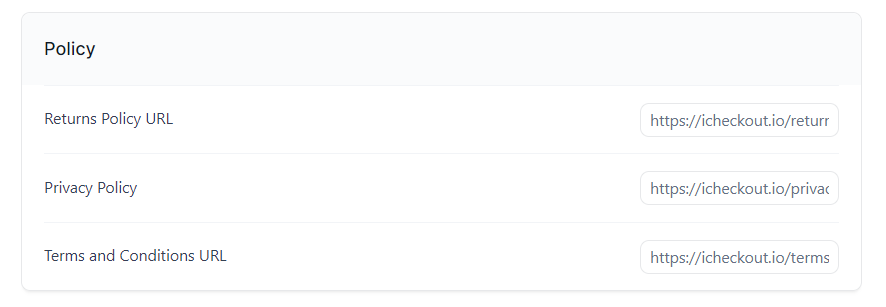
To include privacy policy pages that will be shown on your checkout page, enter the exact URLs within the proper fields.
The next part to customize within your checkout page is the checkout fields and details regarding it.
Adapt your checkout colors, fonts, and fields according to your brand
Once you choose the checkout template you want to use on your store, you can adapt its color, fonts, and fields according to the rest of your store design.
There are six parts you can customize on your checkout page within the general settings:
– Primary color
– Button roundness
– Fonts
– Background color
– Elements color
– Text color
How to know which part I’m customizing?
Colors
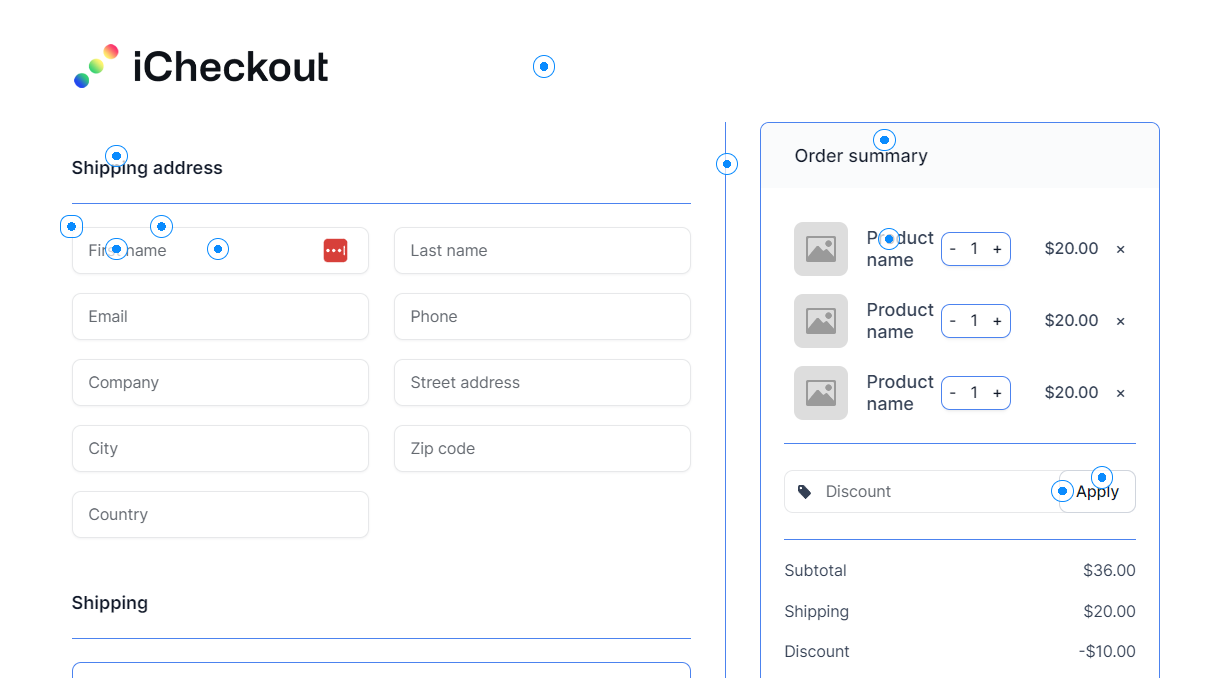
To find out which part of the checkout you want to customize, navigate to the preview button.
There you have points that show each segment of your checkout page that can be customized.
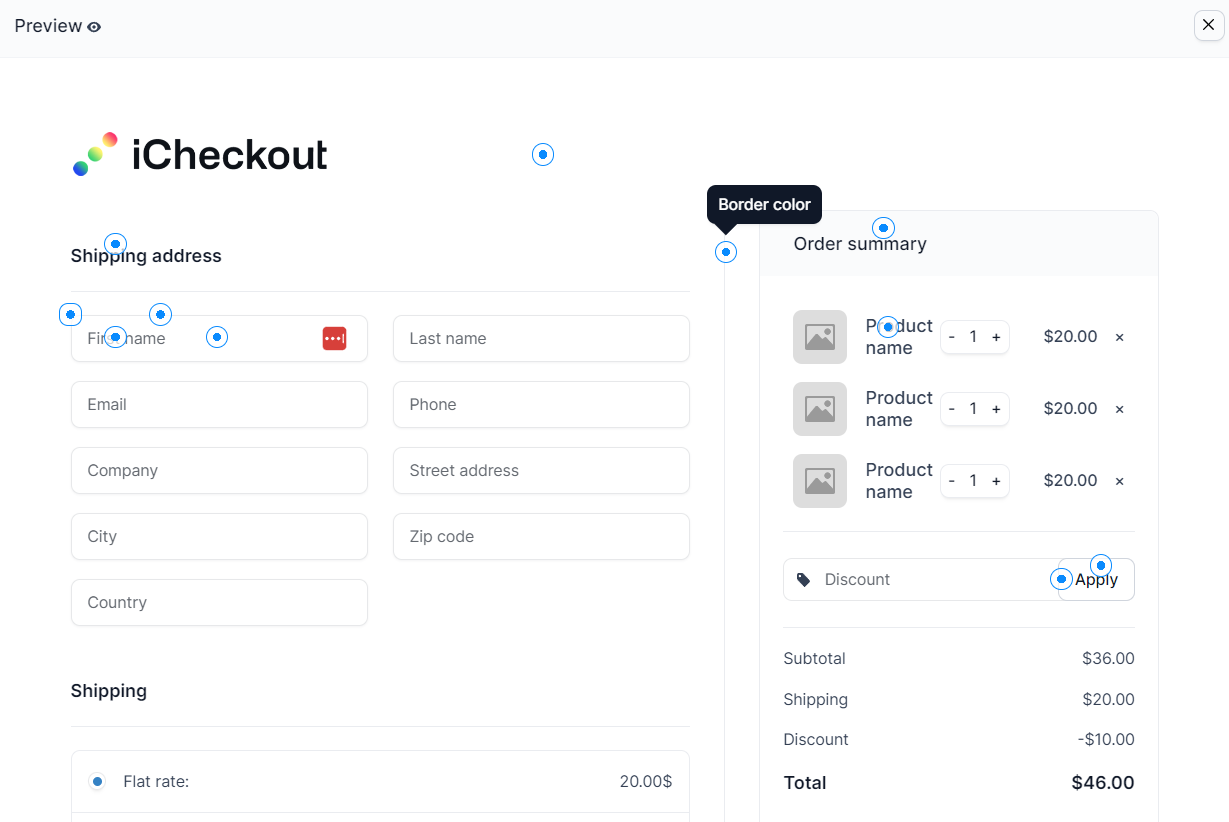
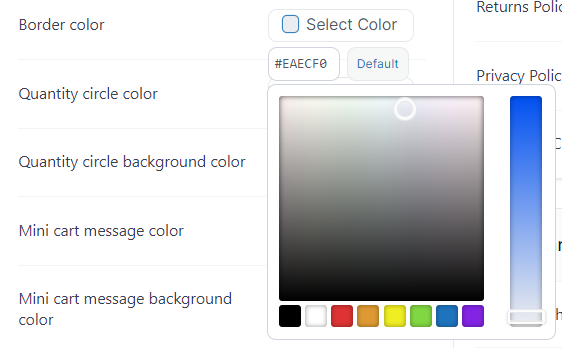
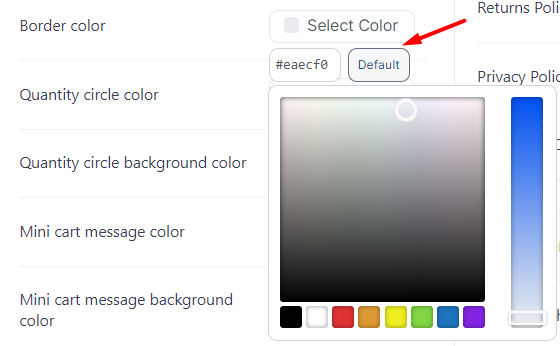
Just hover on the part that you want to customize within the preview screen,(e.g. Border color) and then find it within the elements to adjust the color of your borders.
Choose the color of your wish by including the HEX color code.
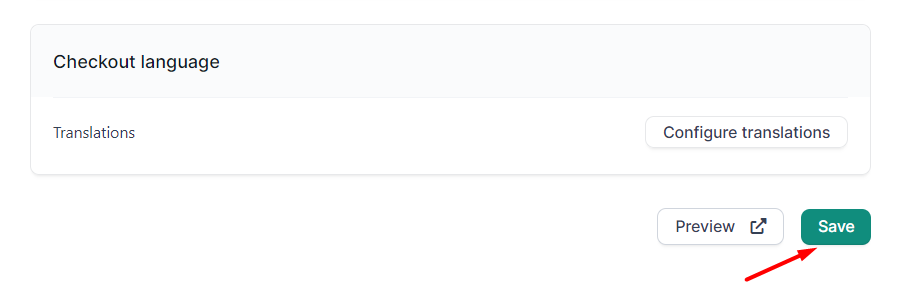
You can see how it will look by navigating to the Preview section.
Once you’re done with your customizations, hit “Save,” and you’re ready to go.
If you want to restore the default colors for any part of your checkout page, just find the specific color you want to restore and hit “Default.”
Once you’re done, save your changes, and all of the changes will automatically be applied.
The process is the same for each section within the “General settings.”
Fonts
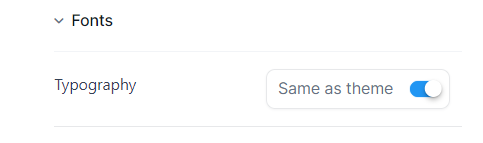
Within the “Fonts” section, you can adapt the checkout fonts according to the rest of your website to be aligned.
Just navigate to the section, and hit select “Same as theme” if you want them to be adapted.
Depending on the theme that you’re using on your website, for some themes you won’t be able to automatically pull out the typography.
In that case, you’ll need to set it up manually.
Just deactivate the “Save as theme” option, and set the fonts that your theme is using.
To check that, navigate to your theme settings, and within the fonts section, you’ll be able to check the font family, weight & style, and font subsets.
Once you’re done with settings, hit “Save,” and the fonts will be applied to your checkout.
Roundness
Depending on the buttons on your website, you can adapt their roundness on your checkout page.
To do that, just navigate to the “Button roundness” section, and here you can leave it by default.
This way, the button roundness will be aligned with the template you’re using.
And if you want to adapt it to the rest of your website, just check the roundness of your buttons within the theme settings, and then turn off the “Default” section.
Enter the number for your button roundness in pixels.

Once you’re done, hit the “Save” button.
Set up your checkout fields
Go to iCheckout -> Settings -> Customize Checkout.
Here you can activate/deactivate the following fields on your checkout page:
- Require a phone number at checkout – You can choose whether to make the phone number required to fill at the checkout page(Once you activate this field, the field “Show phone number field at checkout” will be automatically activated.)
- Require an address number in the address field – By activating this field, your customers will be required to enter an address number within the address field
- Pre-check email marketing checkbox – Activating this field, email marketing box on your checkout page will be automatically checked.
- Display “Powered by iCheckout” on the checkout page – You can deactivate this option with a paid plan only.
- Show phone number field at checkout – If you need your customers’ phone numbers, you can include this additional field on your checkout page by activating it
- Show company field at checkout – Activate this field to enable customers to include their company name during checkout.
- Show apartment, suite, and unit field at checkout – Activate this field if you need to collect specific details about your customers, such as apartment number, suite, and unit.
Once you’re done with the customization of your one-page checkout, hit “Save” to apply your changes.