Follow the steps below to set up iCheckout mini-cart within your store to streamline your customers’ buying process.
Note: To enable iCheckout’s mini-cart, you’ll need to ensure that the mini-cart(if already existing on your store) is disabled within the activated plugins that support the mini-cart option or your theme.
Once you’re done with that, you can enable and activate iCheckout’s mini cart.
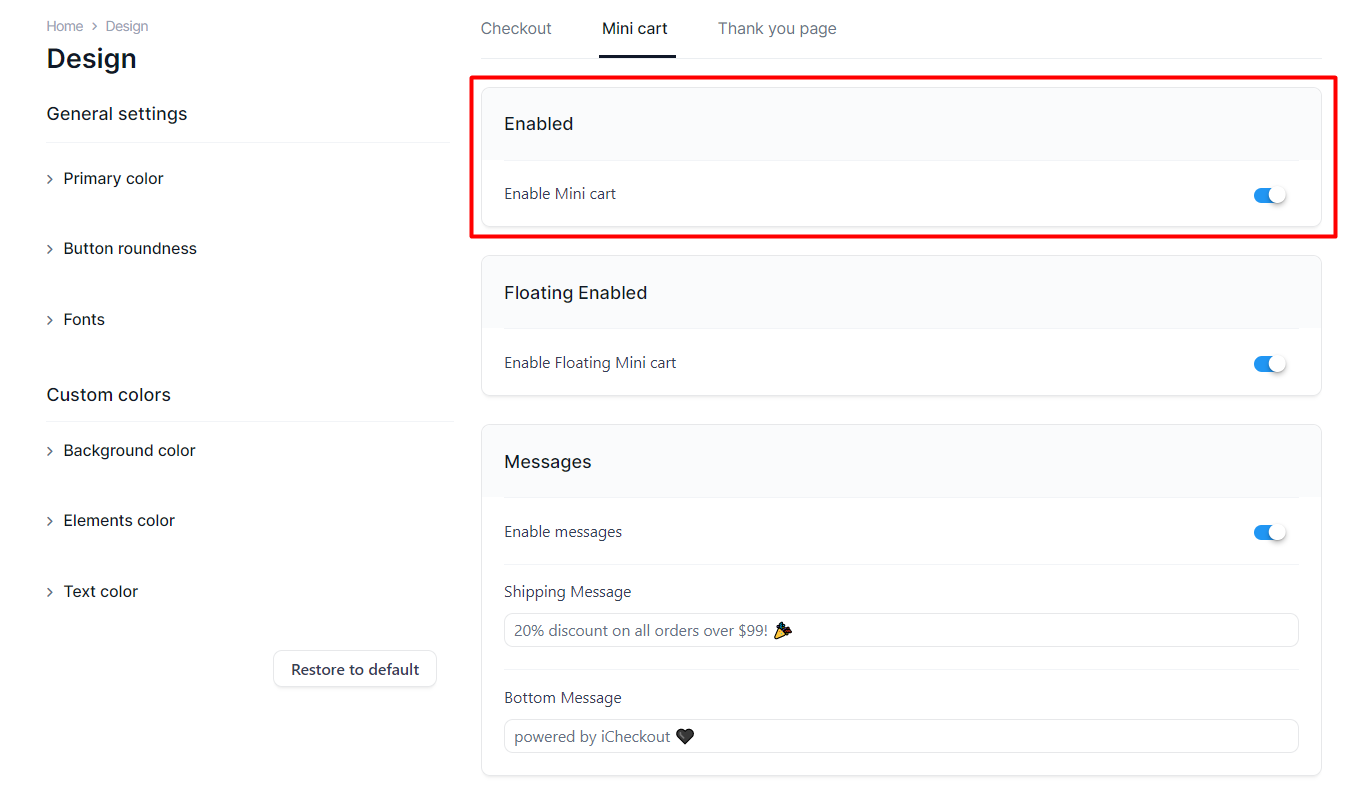
To do that, navigate to the “Design” section, and then within the “Mini cart” section, switch the “Enable Mini cart” button.
Your cart is now activated.
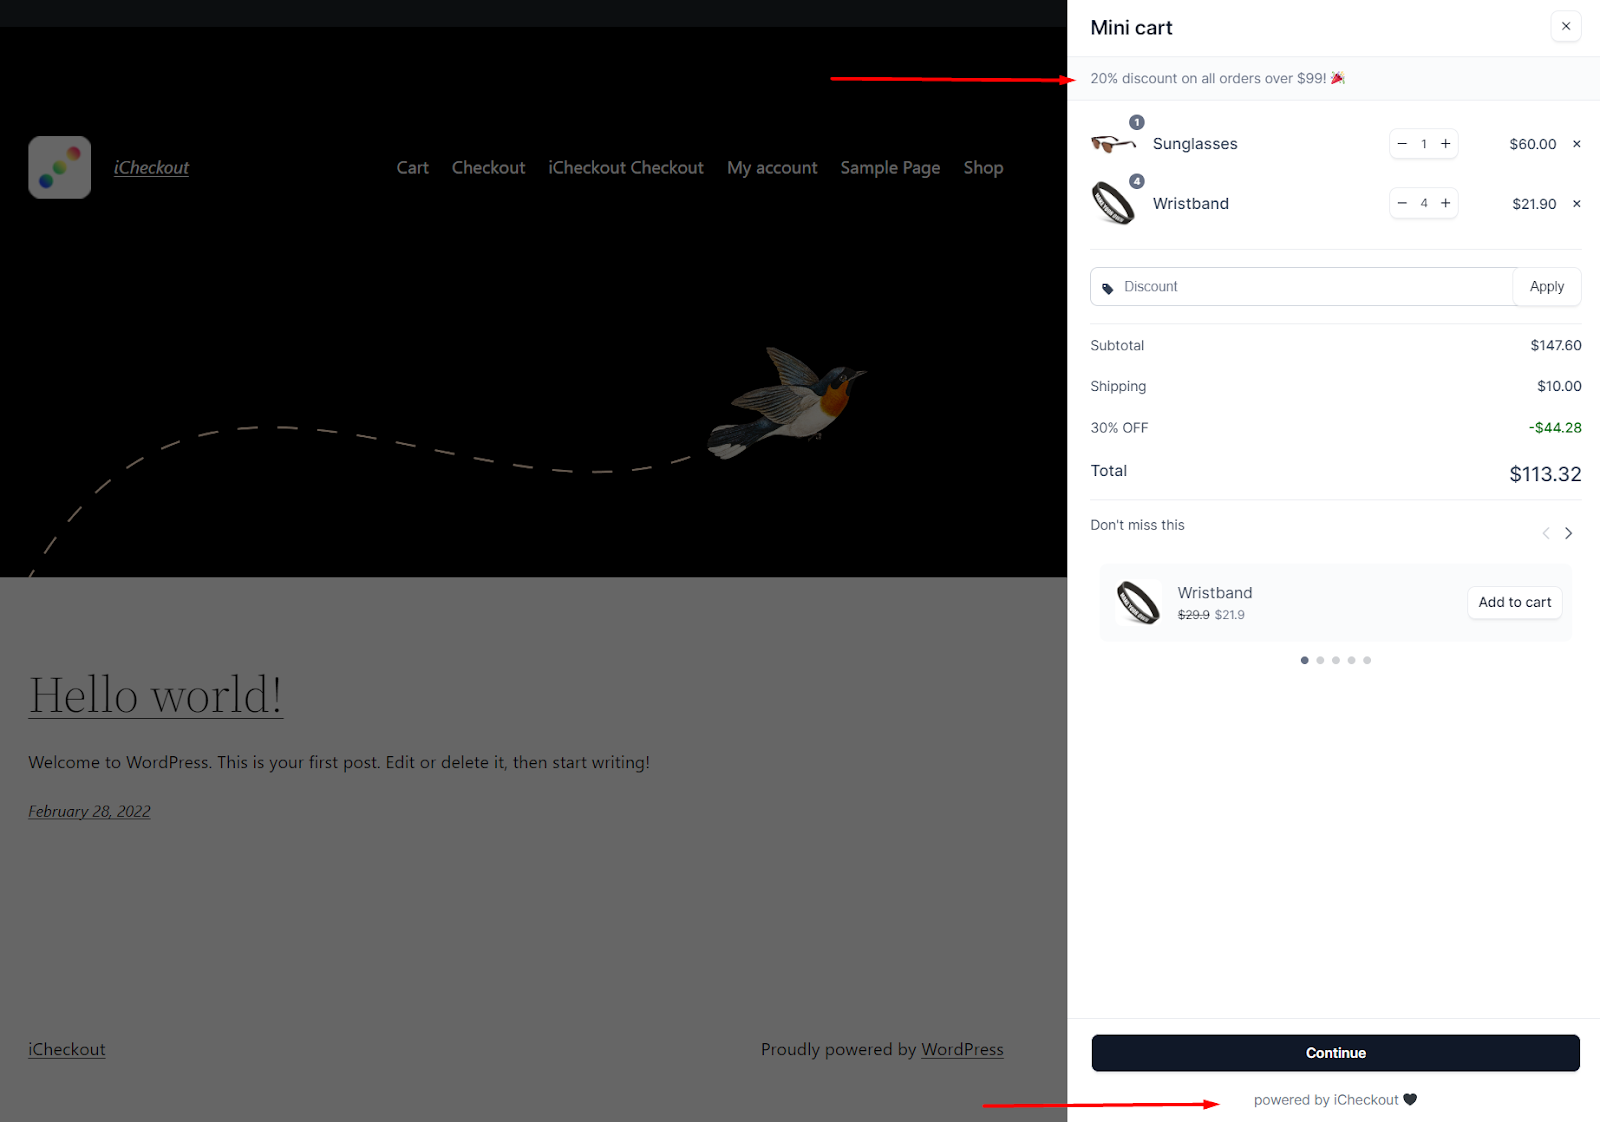
Once the customer adds a new product to their cart, it will automatically appear from the right side.
Floating cart
To allow your customers to access their cart easier, you can make your cart floating on your store.
To do that, within the “Design” section, go to “Mini cart” and then switch “Enable floating mini cart”
Customers will now be able to access their cart easier, and their cart will be displayed like this:
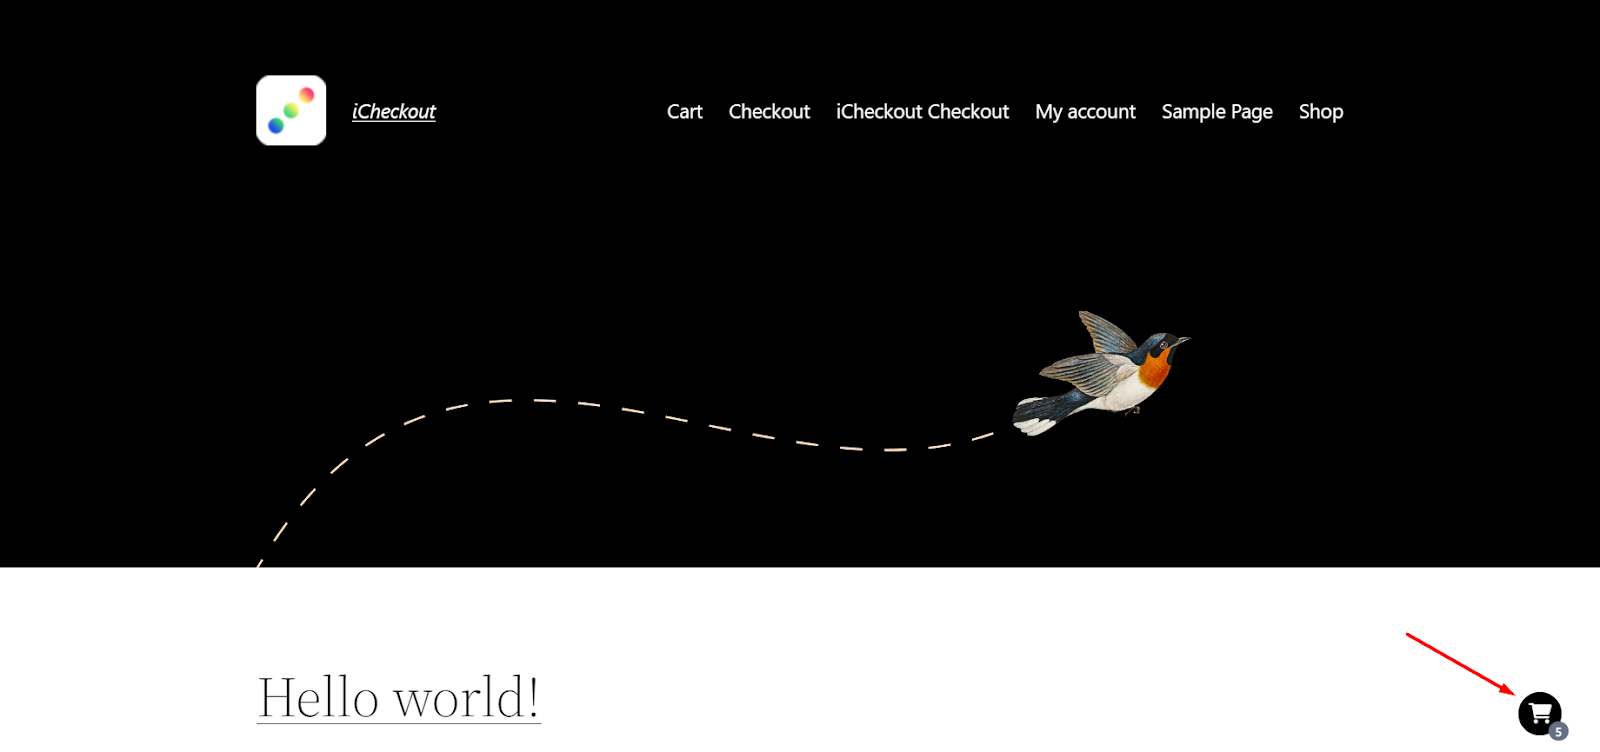
What’s great about it is that it enables your customers to see if they have and how many products they have within their cart at any time.
Customize mini-cart messages
You can enable messages to motivate your customers to finish the purchase and put more products in the cart.
To customize your mini-cart messages, navigate to the “Design” section, then “Mini-cart,” and scroll down until you find messages.

There are two types of messages that you can include within the iCheckout mini-cart:
- Shipping message – a message that you can use to motivate customers to finish the purchase or put more products into the cart
- Bottom message – a message where you can include social proof text to make your store more legitimate
To create these sections, all you need to do is switch the “Enable messages” button and enter the messages you want to include.
Once you’re done, hit “Save” in the bottom right corner.
Here’s where your Shipping and bottom messages will be displayed and how they will look on your store:
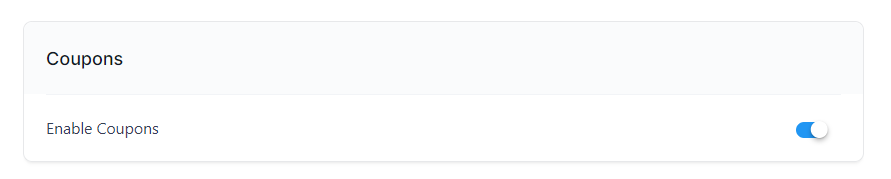
Enable coupons within the mini-cart
To enable coupons within the mini-cart, just navigate to the “Mini-cart” within the “Design” section, and enable coupons.
It’s easy as that.
Your coupon field will look like this:

Once you’re done, click the “Save” button in the bottom right corner, and the changes will be applied instantly.
Include upsell recommendations on Mini-cart
Learn how to include upsell recommendations within your mini-cart to boost your customers’ purchases and increase their cart value.
To enable recommendations within your mini-cart, go to the “Mini-cart” section within the “Design” feature and switch the “Enable Recommendations on Mini Cart” button.
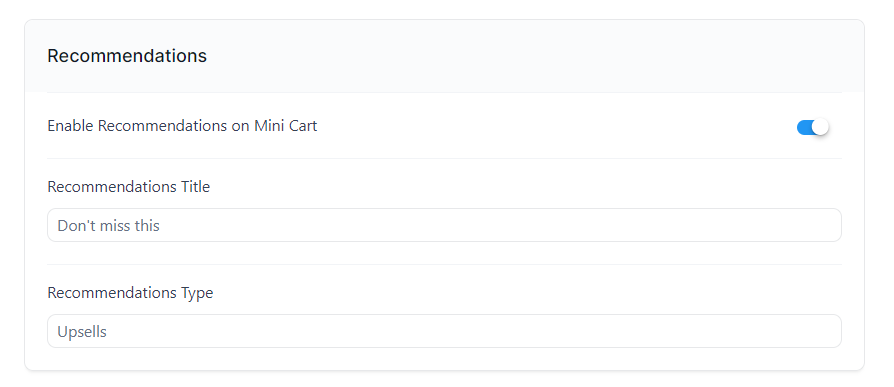
Now your recommendations are activated. The next step is to include a “Recommendations Title” that will be displayed on your mini-cart:
You can choose your “Recommendations Type” to be:
- Upsells – Specific upsell that you previously created triggered according to its setup
- Custom product – You can choose a specific product to be recommended according to your wish(Once you select this option, the “Select product” button will appear).
- Show random products – It will offer random products from your store that are available at that moment.
Note: Before you enable the “Upsell” option within your mini-cart’s Recommendations Type, first you’ll need to create one.
You can see and follow the process of how to create your first upsell with iCheckout here.
Once you’re done with creation, click the “Save” button in the bottom right corner, and the changes will be applied instantly.
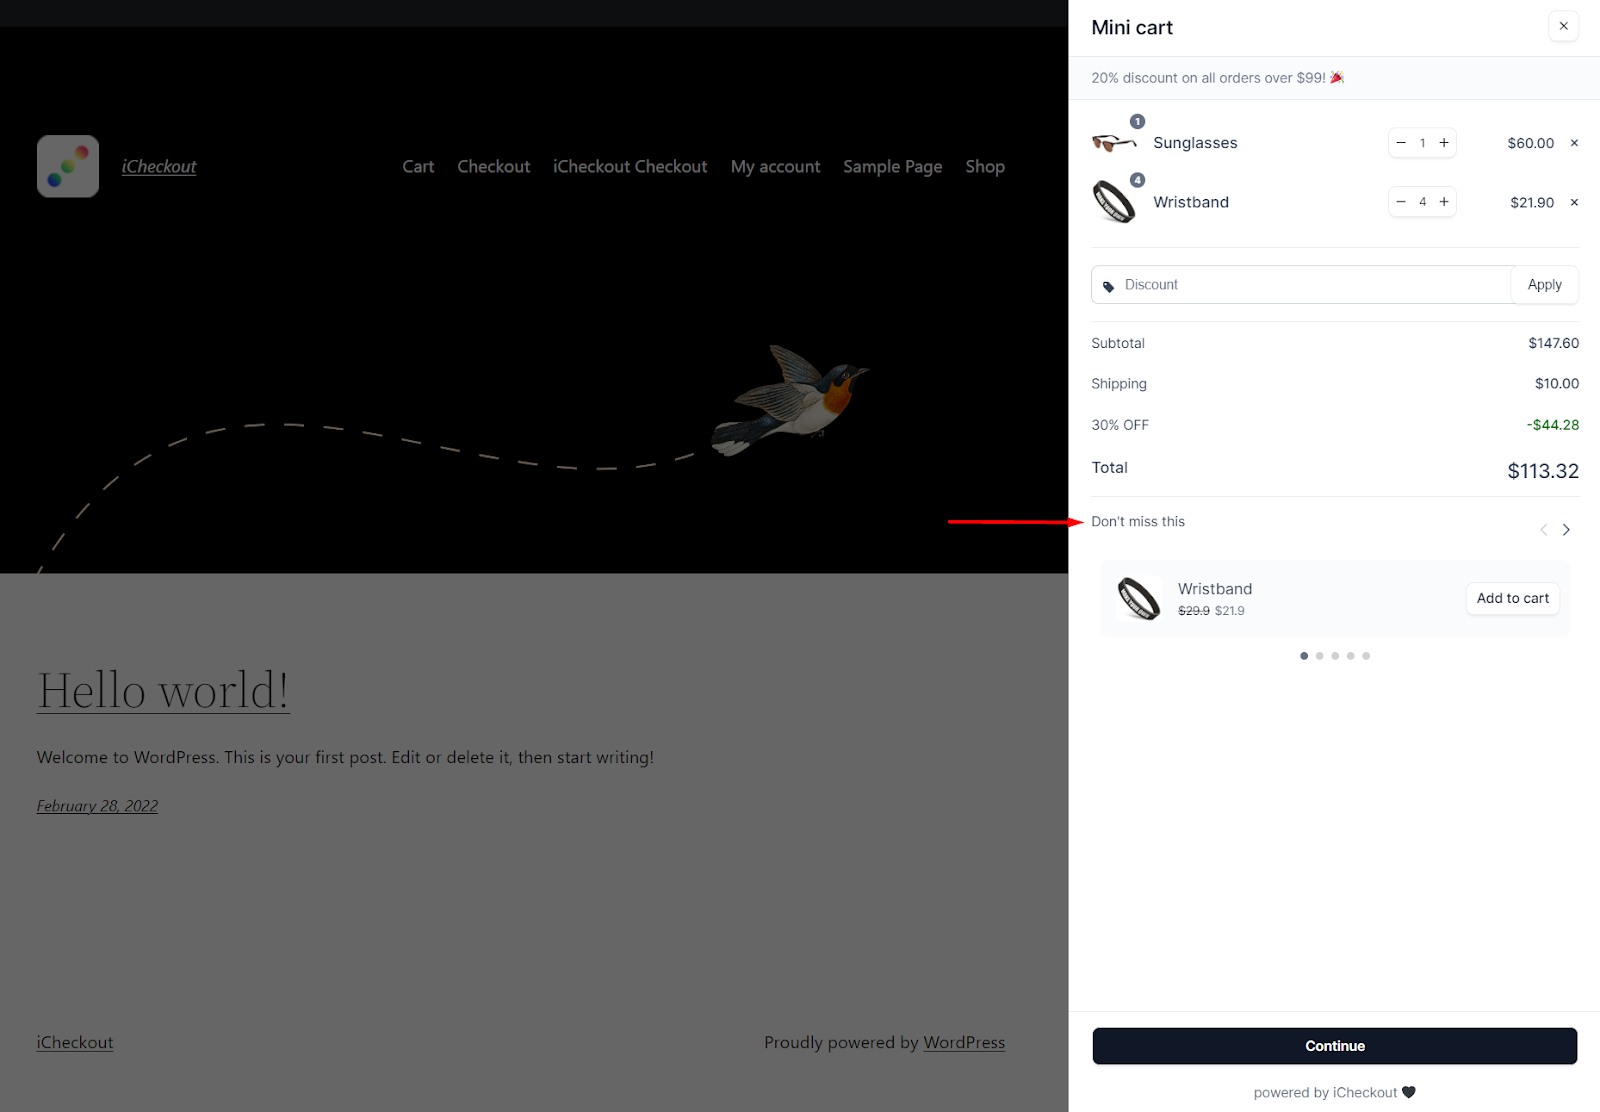
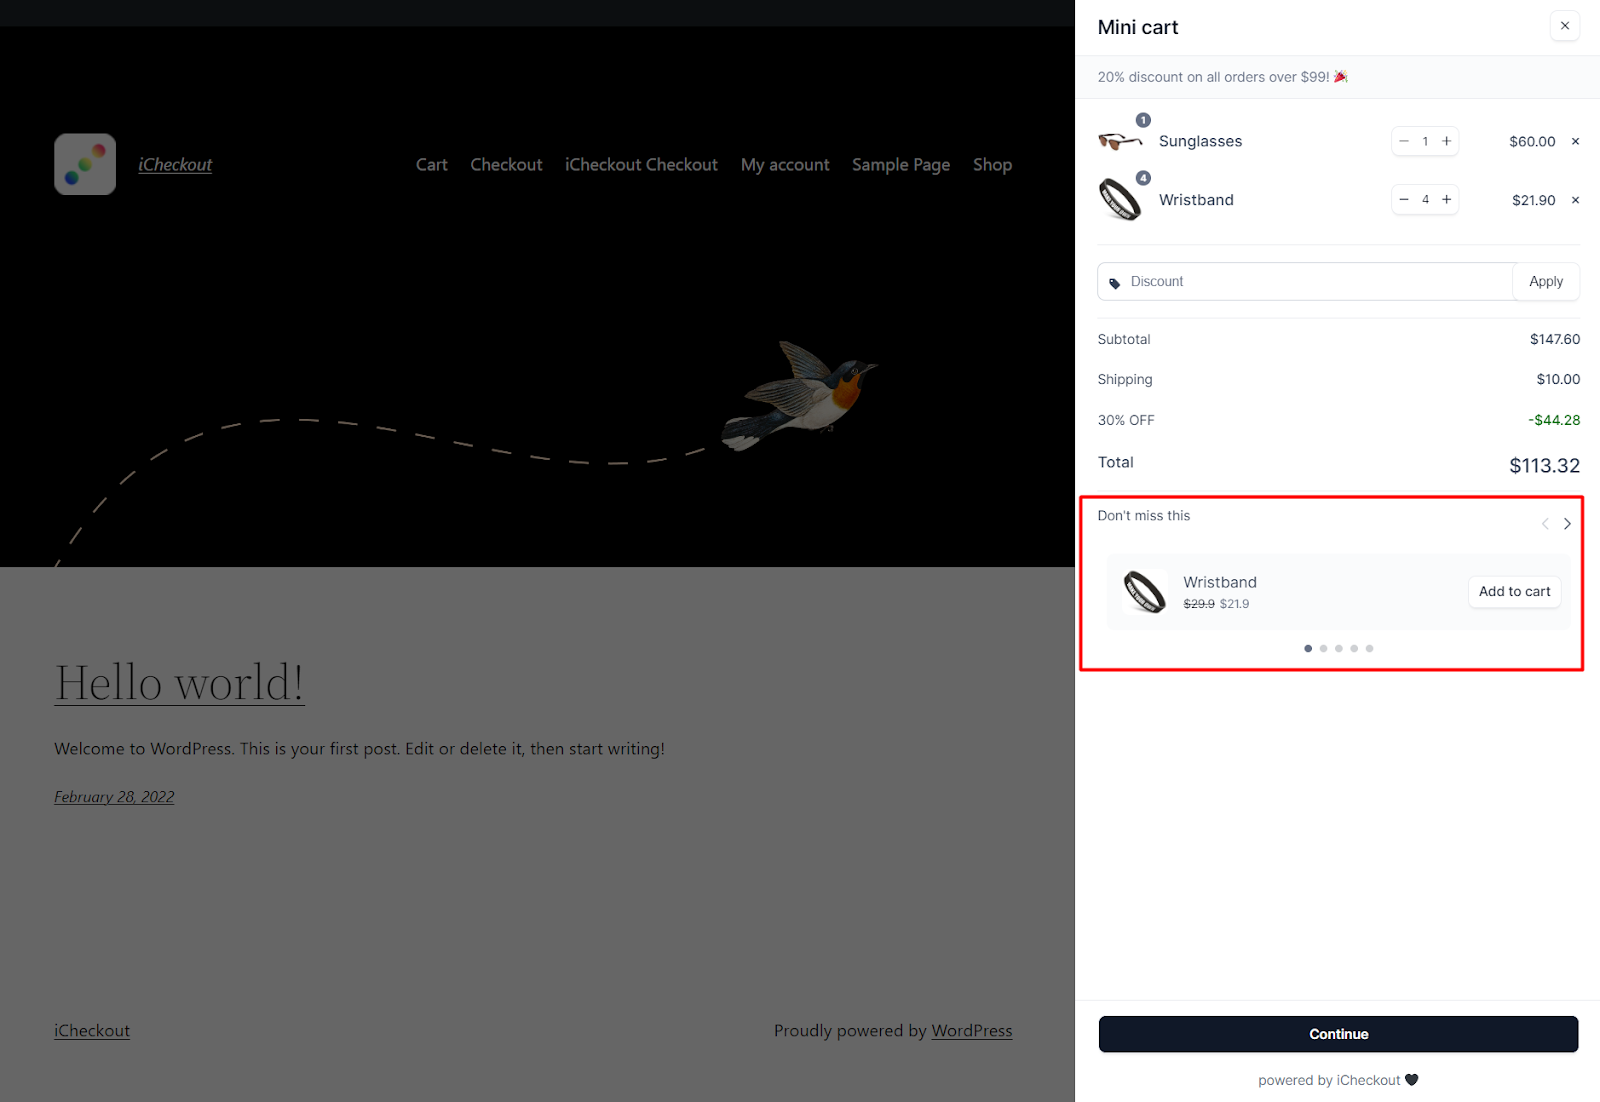
It will look closely like this within your mini-cart:
Customize buttons within the iCheckout’s Mini-cart
You can customize buttons within the mini-cart section by following these steps:
- Primary button – Enter the text you want to display on your primary button, such as “Continue” or “Go to checkout.”
- Secondary button – Enter the text you want to display on your secondary button, such as “Cart”
Before you customize the secondary button, you’ll first need to enable it.
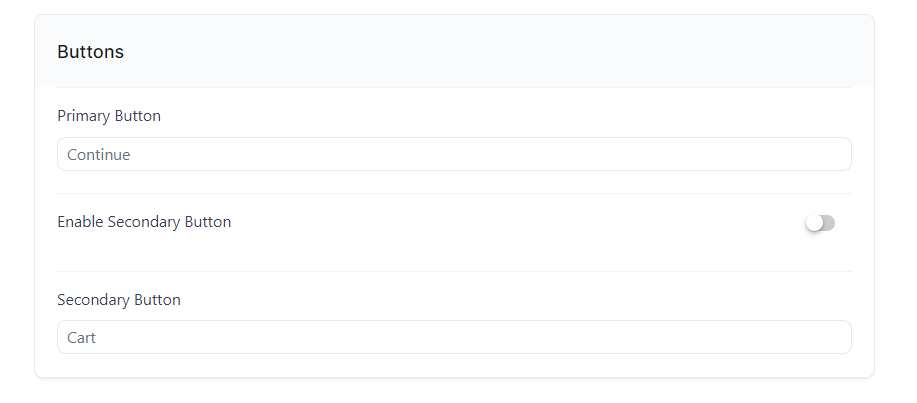
To do that, just switch the toggle button, enter the text, and you’re ready to go.
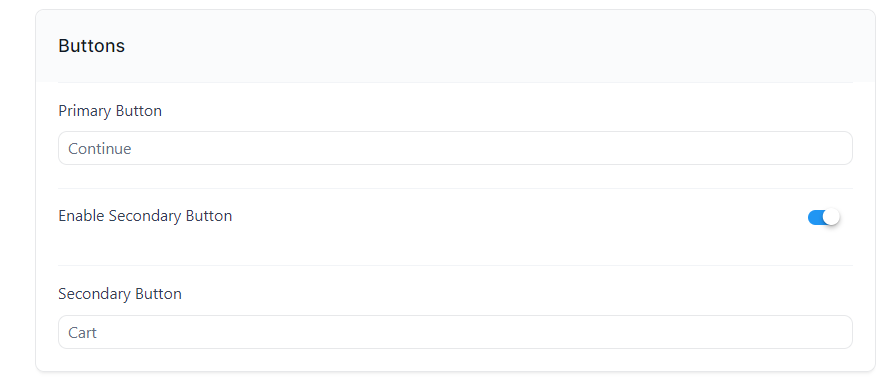
Once you’re done, click the “Save” button in the bottom right corner, and the changes will be applied instantly.
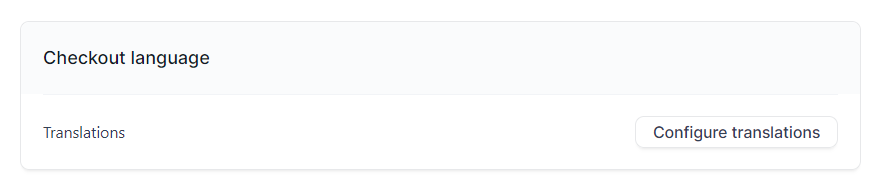
Translate mini-cart section
To translate your mini-cart section, all you need to do is navigate to the bottom of the “Design” page within the “Mini-cart” section and hit ‘Configure translations”
A new page with all the textual elements will appear. All you need to do is enter the translation for each element.
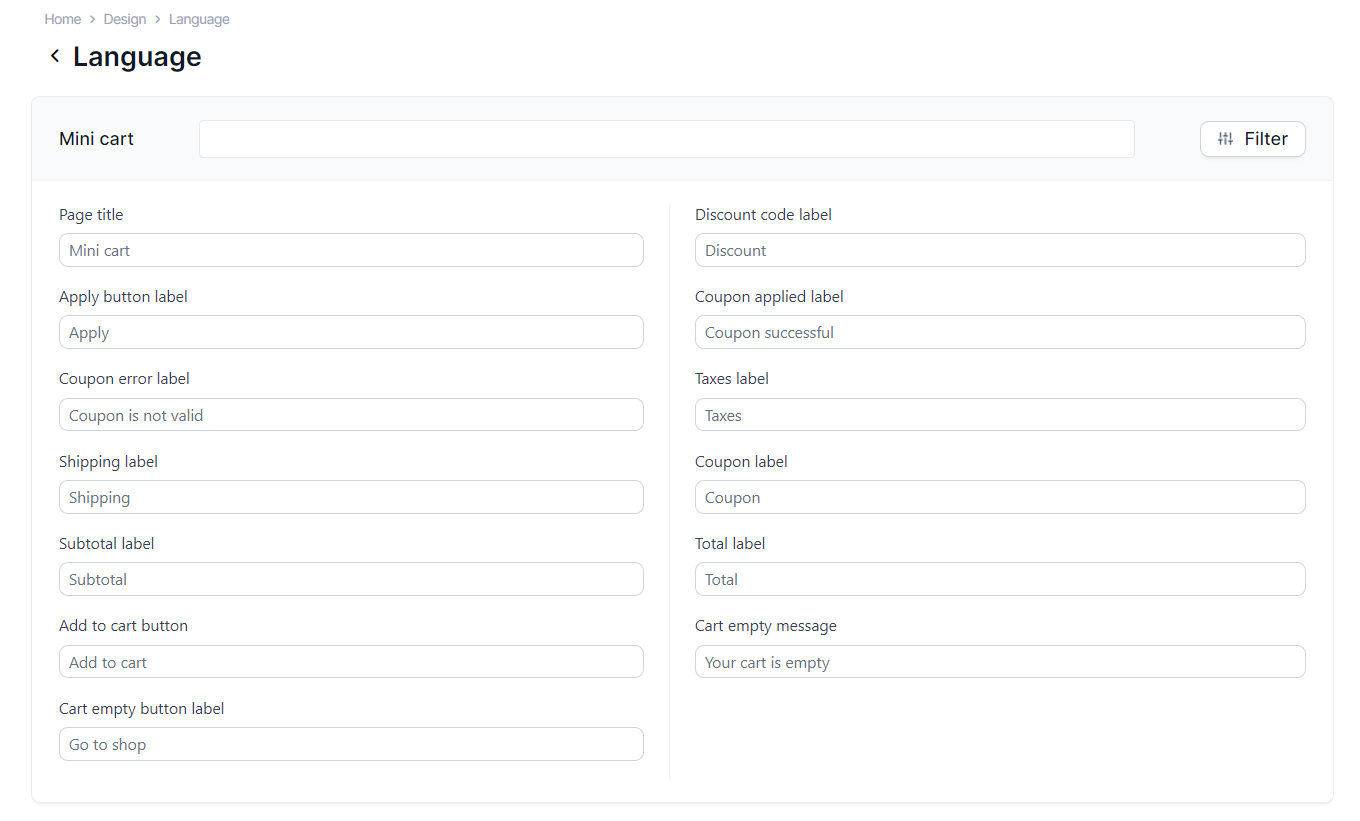
Once you’re done, click “Save,” and you’re ready to go.
Congrats! You have successfully activated and customized your mini-cart section.


